|
| Blogger Template Installation |
--> code is appearing in top or bottom of your Website ?Installing a Blogger Template
Have a new Theme to upload on your Blogger Website then you must have searched instructions or tutorial of how to upload a Theme through Blogger Dashboard.
You should Backup your Template before Uploading or doing any changes in your Theme so that if any Error may occur in further process then you can restore it easily.
How to Backup your Blogger Website's Template ?
 |
| Backup Blogger Template |
Step 1: First of all Login to your Blogger Dashboard.
Step 2: On Blogger Dashboard, click Theme.
Step 3: Click the arrow down icon next to 'customize' button.
Step 4: Click on Backup and then click on Download to install a Backup on your Device so that whenever an issue occurs you can simply revert your Website to the Last Backup.
How to Install a New Theme in Blogger?
Most developers provide you a basic Tutorial for your Theme Installation witha .XML file placed inside their ZIP file or can directly provide you a .XML file which can be uploaded on Blogger.
Installing a Blogger Template in the new Blogger Version can be done by following any of the below method.
Method 1 - Uploading XML file directly in Theme section
 |
| Uploading XML File |
If you have got an XML file and want to directly uploaded then you must follow the below steps -
Step 1: First of all Login to your Blogger Dashboard.
Step 2: On Blogger Dashboard, click Theme.
Step 3: Click the arrow down icon next to 'customize' button.
Step 4: Click on Restore Option and then click on Upload
Step 5: Now Select the .XML file that you have got from your Theme Developer or any Website you have Downloaded.
If you have a Zip file then use the below websites to unzip it and get the XML version of it.
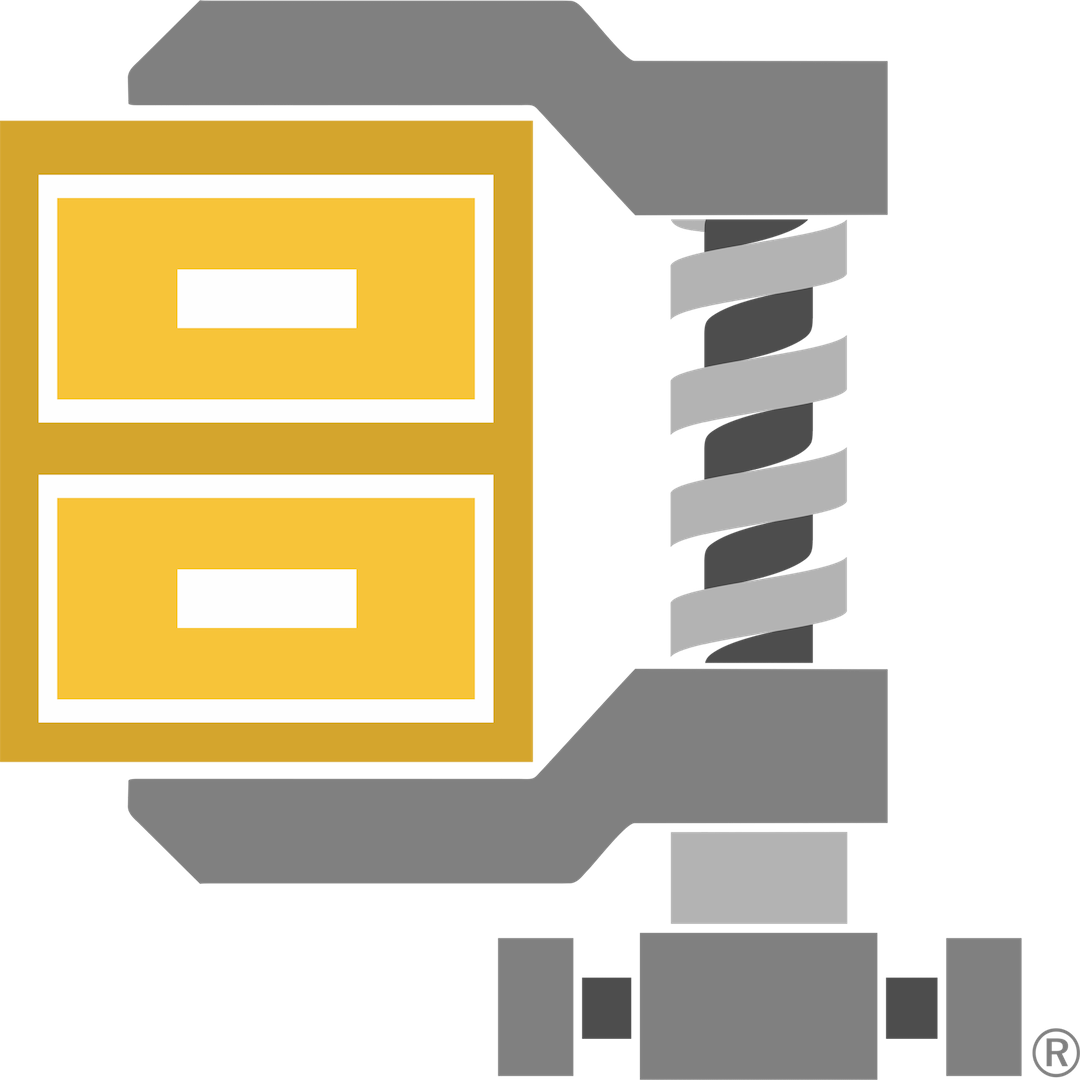 Winzip
Step 6: After selecting the .XML file the Theme will be uploaded to your Blogger Website.
Sometimes following this process may leave Widgets as it is which may create some friction with your current Theme and may seem disfigured so it's better to follow second method if you are having that type of issues. 🥲
Method 2 - Using Edit HTML option to Paste the Theme Code
 |
| Using Edit HTML |
Step 1: First of all Login to your Blogger Dashboard.
Step 2: On Blogger Dashboard, click Theme.
Step 3: Click the arrow down icon next to 'customize' button.
Step 4: Click Edit HTML, you will be redirected to editing page.
Step 5: Go to this Website Codebeautify and select your Theme using the Option and you will get the HTML code of your Theme.
Step 6: Click on icon and go to your Blogger's Edit HTML Page.
Step 7: Paste the Code there and click on ⋮ and then click on Save.
Step 8: There you have it the Theme on your Website.
If any problems exist then comment below and I will surely add how to Troubleshoot it.
How to solve --> Arrow Error?
--> Arrow in Head or Foot of your Website then you can follow the below steps to resolve it -Step 1: First of all Login to your Blogger Dashboard.
Step 2: On Blogger Dashboard, click Theme.
Step 3: Click the arrow down icon next to 'customize' button.
Step 4: Click Edit HTML, you will be redirected to editing page.
Step 5: Click Ctrl+F and paste --> for --> and <-- for <-- type of Arrow you are having.
Can't press Ctrl+F then use the app below to do it and yeah it will be helpful for you if you want to quickly edit Codes in future 😉
 Hackers Keyboard
Step 6: Carefully remove it and Save your Theme as I taught you earlier and see if it is saving or not.
If you are having any Errors then step back without saving or remove the page so that the non-edited version still appears there.
Step 7: If you have found your place of Mis-Code then that's all you have to do.
I hope you got some guide from the above mentioned steps or if you have any issues then Comment below and I will guide you.
How to remove unwanted Widgets after changing Theme?
Step 1: First of all Login to your Blogger Dashboard.
Step 2: On Blogger Dashboard, click Layout.
Step 3: Scroll below and you will see some stuffed or Below-To-Below Headings of your Widgets.
Step 4: Remove them by clicking and deleting them Consecutively.
That's it to remove them and I hope you can easily make these changes.
If you are having Problems then make sure to have a Backup of your Template.
How to configure mobile settings in Blogger?
Step 1: First of all Login to your Blogger Dashboard.
Step 2: On Blogger Dashboard, click Theme.
Step 3: Click the arrow down icon next to 'customize' button.
Step 4: Click on Mobile Settings and select Desktop Option to make Mobile users view your Website just like Desktop users.
This can help you in mostly Every Template as they are made for Desktop Only Versions.
Related Posts
Conclusion
FAQ'S related to this Topic -
How to upload a theme in Blogger?
To Upload a Theme in Blogger you can follow these steps - 1. Sign in to Blogger 2. Click the down arrow in the top left 3. Click a blog to update 4. Click Theme in the left menu 5. Select your theme 6.Click Apply at the bottom 7. To save a copy of your theme, click More>Backup in the top right
How to change a theme in Blogger?
To Change a Theme in Blogger you can follow these steps - 1. Sign in to Blogger 2. Click the down arrow in the top left 3. Click a blog to update 4. Click Theme in the left menu 5. Select your theme 6.Click Apply at the bottom
How to install Blogger template or theme?
To Install a Theme in Blogger you can follow these steps - 1. Sign in to Blogger 2. Click the down arrow in the top left 3. Click a blog to update 4. Click Theme in the left menu 5. Select your theme 6.Click Apply at the bottom
How to change Blogger template or theme?
To Change a Theme in Blogger you can follow these steps - 1. Sign in to Blogger 2. Click the down arrow in the top left 3. Click a blog to update 4. Click Theme in the left menu 5. Select your theme 6.Click Apply at the bottom
How to add a custom theme in Blogger?
To add a Custom Theme in Blogger you can follow these steps - 1. Sign in to Blogger 2. Click the down arrow in the top left 3. Click a blog to update 4. Click Theme in the left menu 5. Select your theme 6.Click Apply at the bottom
How to Troubleshoot Blogger Theme or Template issues?
To Troubleshoot any Errors you can use Blogger Forums for official Support or you can comment on any Guide Website to simply Troubleshoot any Errors you are having.